Home Assistant
Home Assistant Integration
Zentik is fully supported on Home Assistant through a custom HACS component. This integration allows you to send rich notifications from Home Assistant automations to your Zentik-connected devices.
Overview
The Zentik Notifier integration exposes a notify service in Home Assistant that sends notifications through the Zentik cloud API. Each configured instance can target specific users or buckets, enabling fine-grained control over notification delivery.
Installation
Via HACS (Recommended)
The easiest way to install Zentik Notifier is through HACS:
Or add it manually:
- Open HACS in your Home Assistant instance
- Click on the Integrations tab
- Click the menu button (⋮) in the top right corner
- Select Custom repositories
- Add the repository:
- Repository URL:
https://github.com/Zentik-notifier/zentik-homeassistant-component - Category: Integration
- Repository URL:
- Click Add and then Add Integration
- Search for "Zentik Notifier" and install it
- Restart Home Assistant
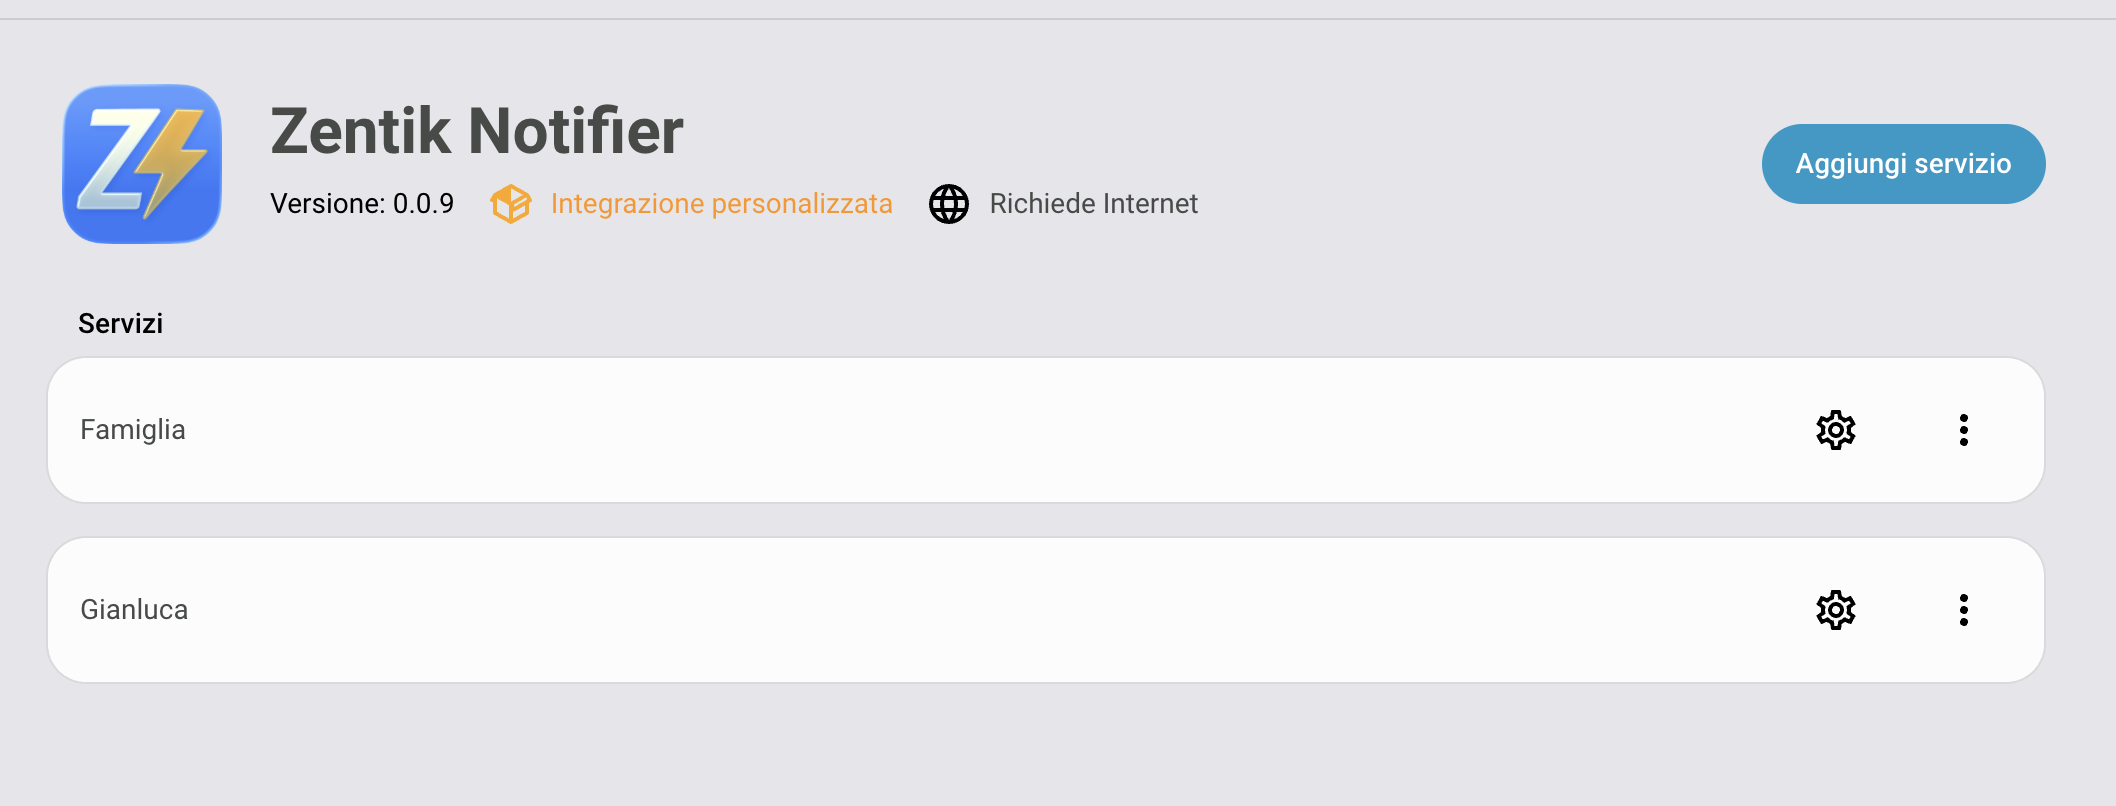
Add the Zentik Notifier repository to HACS
Install Zentik Notifier from HACS integrations
Configure the Zentik Notifier integration
Manual Installation
If you prefer to install manually:
- Clone or download the repository
- Copy the
custom_components/zentik_notifierfolder to your Home Assistantconfig/custom_componentsdirectory - Restart Home Assistant
Configuration
After installation, add the integration:
- Go to Settings → Devices & Services
- Click Add Integration
- Search for "Zentik Notifier"
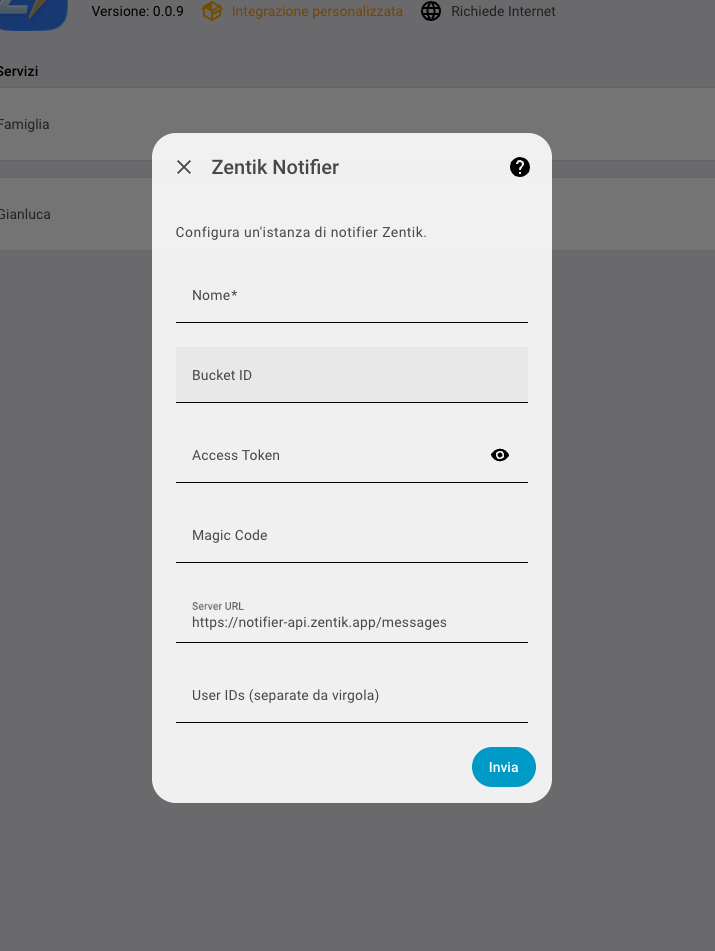
- Fill in the configuration fields:
- Friendly name: A name for this notifier instance (e.g., "Phone", "Tablet")
- Bucket ID + Access Token: Your Zentik bucket credentials
- OR Magic Code: Alternative authentication method
- Server URL (optional): Custom Zentik API endpoint (defaults to
https://notifier-api.zentik.app/messages) - User IDs (optional): Comma-separated list of target user IDs
Authentication
You can authenticate using one of these methods:
- Bucket ID + Access Token: Provide your Zentik bucket ID and access token
- Magic Code: Use a Zentik magic code for authentication
Both methods are supported, but you only need to provide one.
Configuration Options
You can adjust all configuration settings later via the integration Options dialog in Home Assistant.
Usage
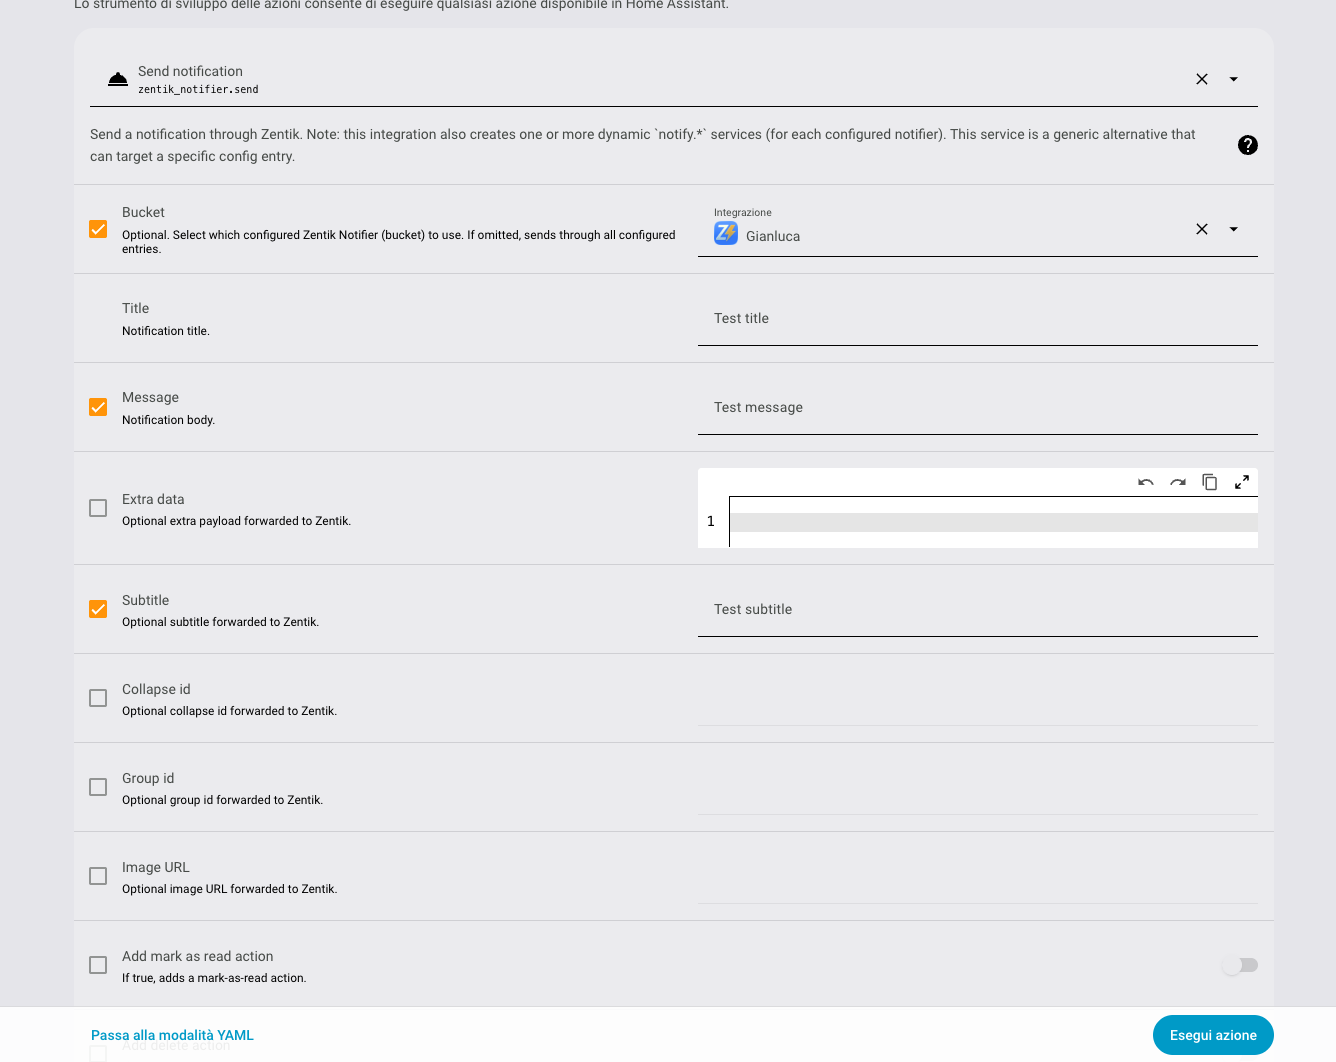
Once configured, the integration exposes a notify service that you can use in automations, scripts, or from Developer Tools.
Service Name
The service name follows the pattern: notify.zentik_notifier_name
Where zentik_notifier_name is the friendly name you configured (lowercase, with spaces replaced by underscores).
Service Parameters
| Parameter | Type | Description | Required |
|---|---|---|---|
title | string | Notification title | Yes |
message | string | Notification message/body | Yes |
subtitle | string | Notification subtitle | No |
collapseId | string | Collapse ID for grouping notifications | No |
groupId | string | Group ID for notification grouping | No |
imageUrl | string | URL to an image attachment | No |
addMarkAsReadAction | boolean | Add a "Mark as Read" action button | No |
addDeleteAction | boolean | Add a "Delete" action button | No |
actions | array | Custom action buttons | No |
Example: Basic Notification
service: notify.zentik_phone
data:
  title: "Home Assistant Alert"
  message: "The front door has been opened"
Example: Rich Notification with Actions
service: notify.zentik_phone
data:
  title: "Motion Detected"
  message: "Motion detected in the living room"
  subtitle: "Front Camera"
  imageUrl: "https://example.com/camera-snapshot.jpg"
  addMarkAsReadAction: true
  addDeleteAction: true
  actions:
    - type: NAVIGATE
      value: "/cameras/living-room"
      icon: camera
      title: "View Camera"
Example: Using in Automation
automation:
  - alias: "Notify on Door Open"
    trigger:
      - platform: state
        entity_id: binary_sensor.front_door
        to: "on"
    action:
      - service: notify.zentik_phone
        data:
          title: "Front Door Opened"
          message: "The front door was opened at {{ now().strftime('%H:%M') }}"
          addMarkAsReadAction: true
Multiple Instances
You can configure multiple Zentik Notifier instances to send notifications to different devices, users, or buckets. Each instance will have its own service name based on the friendly name you assign.
Troubleshooting
Service Not Found
- Verify the integration is installed and configured correctly
- Check that the service name matches your configured friendly name (lowercase, underscores instead of spaces)
- Restart Home Assistant after installation
Notifications Not Received
- Verify your Bucket ID and Access Token (or Magic Code) are correct
- Check the Home Assistant logs for error messages
- Ensure your Zentik bucket is active and has valid credentials
- Verify target User IDs if you specified them in configuration
Authentication Errors
- Double-check your authentication credentials
- Ensure you're using either Bucket ID + Access Token OR Magic Code (not both)
- Verify the Server URL if you're using a custom endpoint
Resources
- GitHub Repository: zentik-homeassistant-component
- HACS Integration: Available in HACS → Integrations
- Zentik Documentation: See Notifications for more details about notification features