Servarr (Sonarr/Radarr)
Servarr Integration
Overview
Zentik provides native support for *arr services (Sonarr, Radarr, Lidarr, Readarr, etc.) through a built-in webhook parser that automatically transforms *arr notifications into rich Zentik notifications.
The integration uses a webhook endpoint with automatic payload parsing. Simply configure your *arr service to send webhooks to Zentik's transform endpoint with the ZENTIK_SERVARR parser.
This tutorial is valid for all *arr services that support webhook notifications.
Create a Bucket
Before proceeding, you need to create a bucket in Zentik. When creating the bucket, you can optionally select the Servarr preset from the available presets to get pre-configured settings optimized for *arr services.
For detailed instructions on creating a bucket and generating credentials, see Bucket Creation.
You'll need either:
- Your bucket Magic Code, or
- Your Bucket ID + Access Token
Create Webhook Connection
To receive notifications from your *arr service, you need to create a new webhook connection in Zentik:
- Go to the Notifications section in your Zentik dashboard
- Click on Add Connection or New Connection
- Select Webhook as the connection type
- Configure the connection:
- Name: Give your connection a descriptive name (e.g., "Servarr", "Sonarr", "Radarr")
- Parser: Select or enter
ZENTIK_SERVARRto automatically parse *arr webhook payloads - Bucket: Select the bucket you created (or the one with the Servarr preset)
- Authentication: Choose either Magic Code or Bucket ID + Access Token
Go to the Notifications section in Zentik
Click to create a new webhook connection
Configure the webhook connection with Servarr parser

Webhook connection created and ready to use
Webhook URL Formats
After creating the connection, you need to manually build the webhook URL using your bucket credentials. Use this URL when configuring the webhook in your *arr service.
Webhook URL
curl -X POST \
  "https://notifier-api.zentik.app/transform?parser=ZENTIK_SERVARR&magicCode=YOUR_MAGIC_CODE"
Replace YOUR_MAGIC_CODE with your actual Magic Code from your bucket settings.
curl -X POST \
  "https://notifier-api.zentik.app/transform?parser=ZENTIK_SERVARR&bucketId=YOUR_BUCKET_ID" \
  -H "Authorization: Bearer YOUR_ACCESS_TOKEN"
Replace YOUR_BUCKET_ID and YOUR_ACCESS_TOKEN with your actual credentials from your bucket settings.
Note: The
parser=ZENTIK_SERVARRparameter tells Zentik to automatically parse and transform the *arr webhook payload into a formatted Zentik notification.
Configure in *arr Service
Now configure the webhook in your *arr service (Sonarr, Radarr, Lidarr, Readarr, etc.):
- Open your *arr service
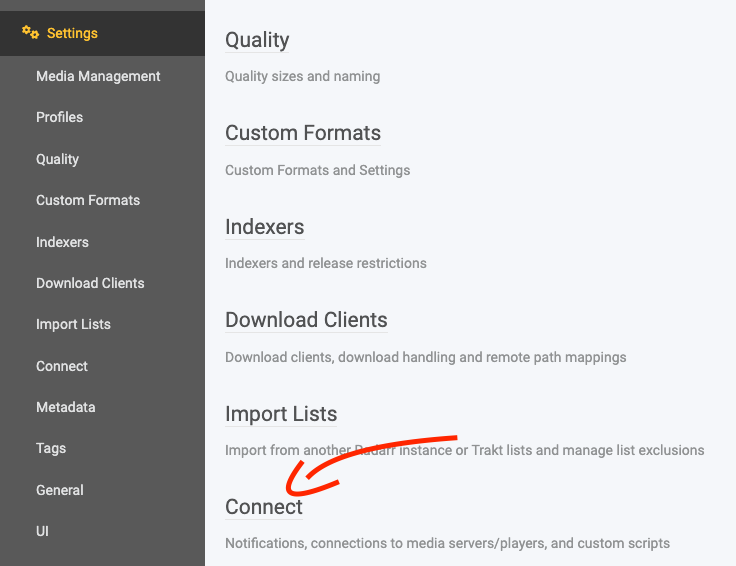
- Go to Settings → Connect
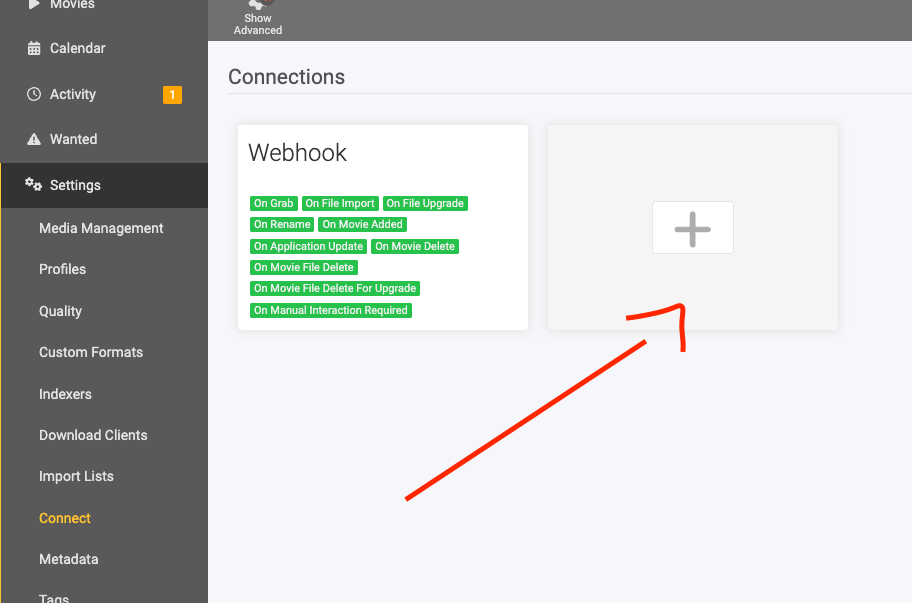
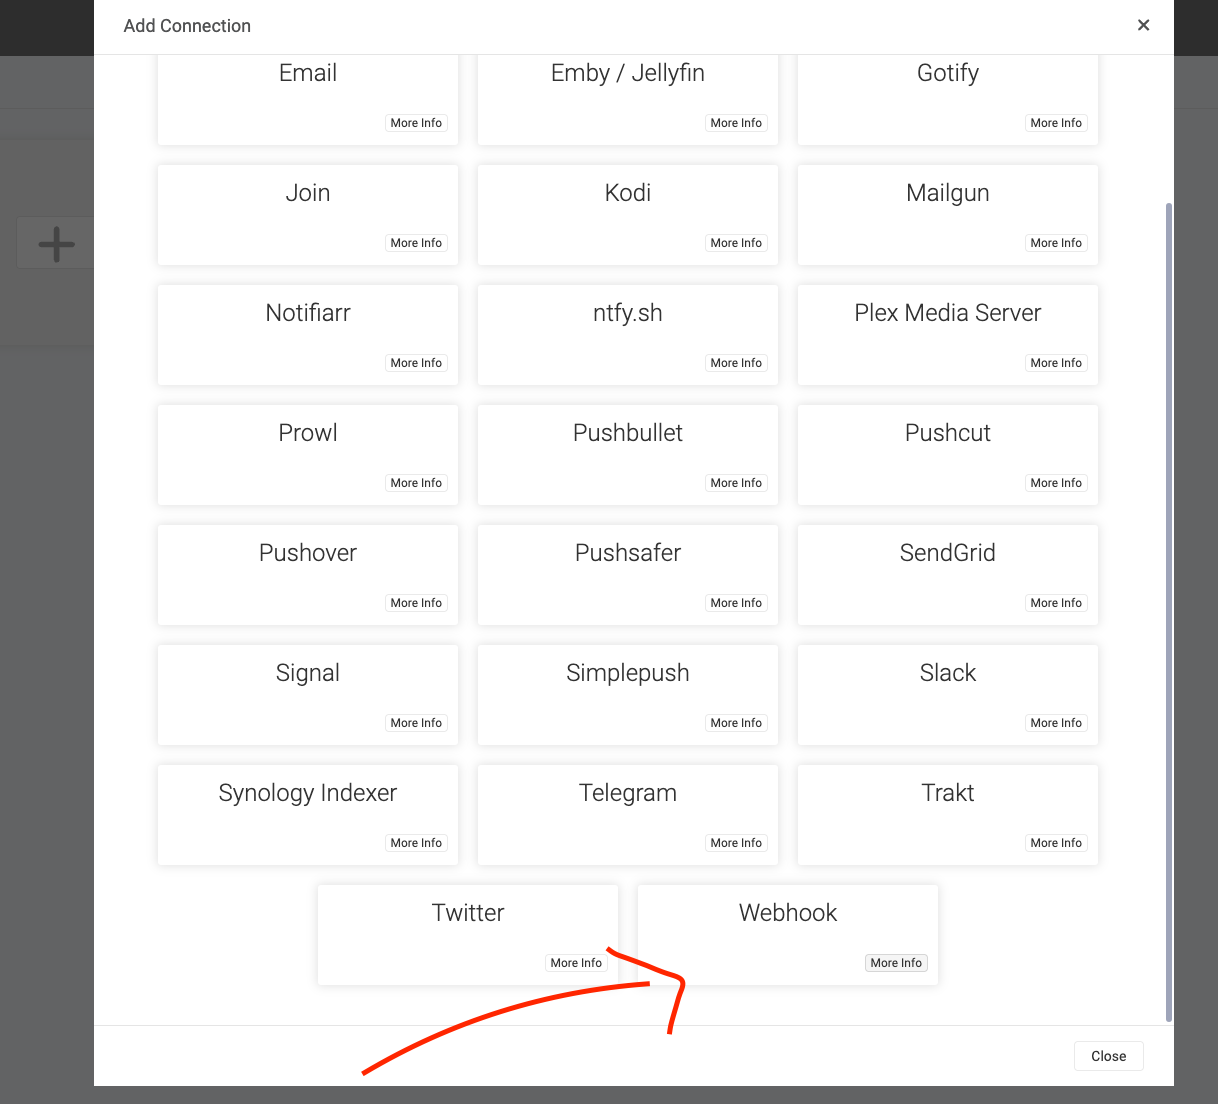
- Click Add or Add Webhook
- Paste the webhook URL (from the formats above) into the URL field
- Set Method to POST
- Enable the events you want to receive notifications for (Grab, Download, Upgrade, Rename, etc.)
- Click Save to save the configuration
Testing
You can test the integration by clicking the Test button in your *arr service webhook settings. This will send a test notification to Zentik, and you should receive it on your Zentik-connected devices.
If you don't receive the notification, verify that:
- The webhook URL is correct
- Your Magic Code or credentials are valid
- Your device is connected to Zentik and subscribed to the bucket
Custom Parsers
If you need to customize how notifications are formatted, you can create a custom parser using Payload Mappers in Zentik. This allows you to define your own mapping rules to transform the incoming webhook payload into Zentik notifications according to your preferences.
For more information, see the Payload Mappers documentation.
Resources
- Bucket Creation Guide: How to create buckets and generate credentials
- Transform Parsers Documentation: Learn more about Zentik parsers
- Preset Available: Yes - Select "Servarr" preset when creating a bucket for optimized settings